“Light makes photography. Embrace light. Admire it. Love it. But above all, know light. Know it for all you are worth and you will know the key to photography”
George Eastman
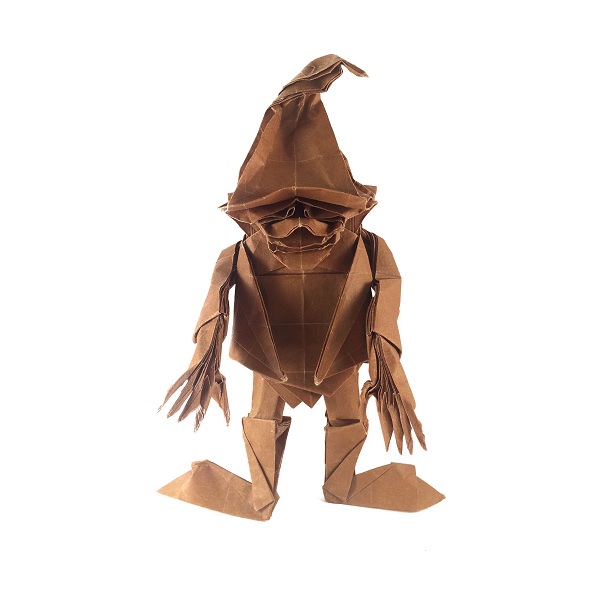
When I was first starting this blog, I had a clear idea how I wanted the origami photography to look. I wanted the photos (on my blog and my origami Instagram account) to show every origami model against a plain white background. This would give the origami designs a chance to stand out on their own. By and large I think I’ve achieved this, and now one of the questions I get asked the most is how I photograph my models. The answer is that I created my own origami photo studio (a.k.a a light box).
I am not great at photography. I don’t have lots of complicated equipment – I don’t even have a DSLR camera. So I take all of the photos for this blog using a home-made light box and the camera on my iPhone. By using a lightbox, you can improve the quality of your origami photography without spending money on an expensive camera and lots of accessories.
What is a Photography Light Box?
A lightbox is a way of setting a subject (in this case, origami) against a chosen background and lighting it in a way that disperses shadows and illuminates the subject effectively. You can buy light boxes online for anywhere between £30 and £300, but you can make your own for less than that and it will work just as well.
Supplies Required to Make Your Own Origami Photo Studio
To make a Light Box, you will need:
 A cardboard box – this should be big enough to house the largest origami model you are planning to photograph, and reasonably deep so you can control the amount of light coming in
- Two lamps with adjustable heads – desktop lamps will do
- Two daylight simulation bulbs – one for each lamp
- White paper – at least as wide as the box and at least twice as long
- White tissue paper
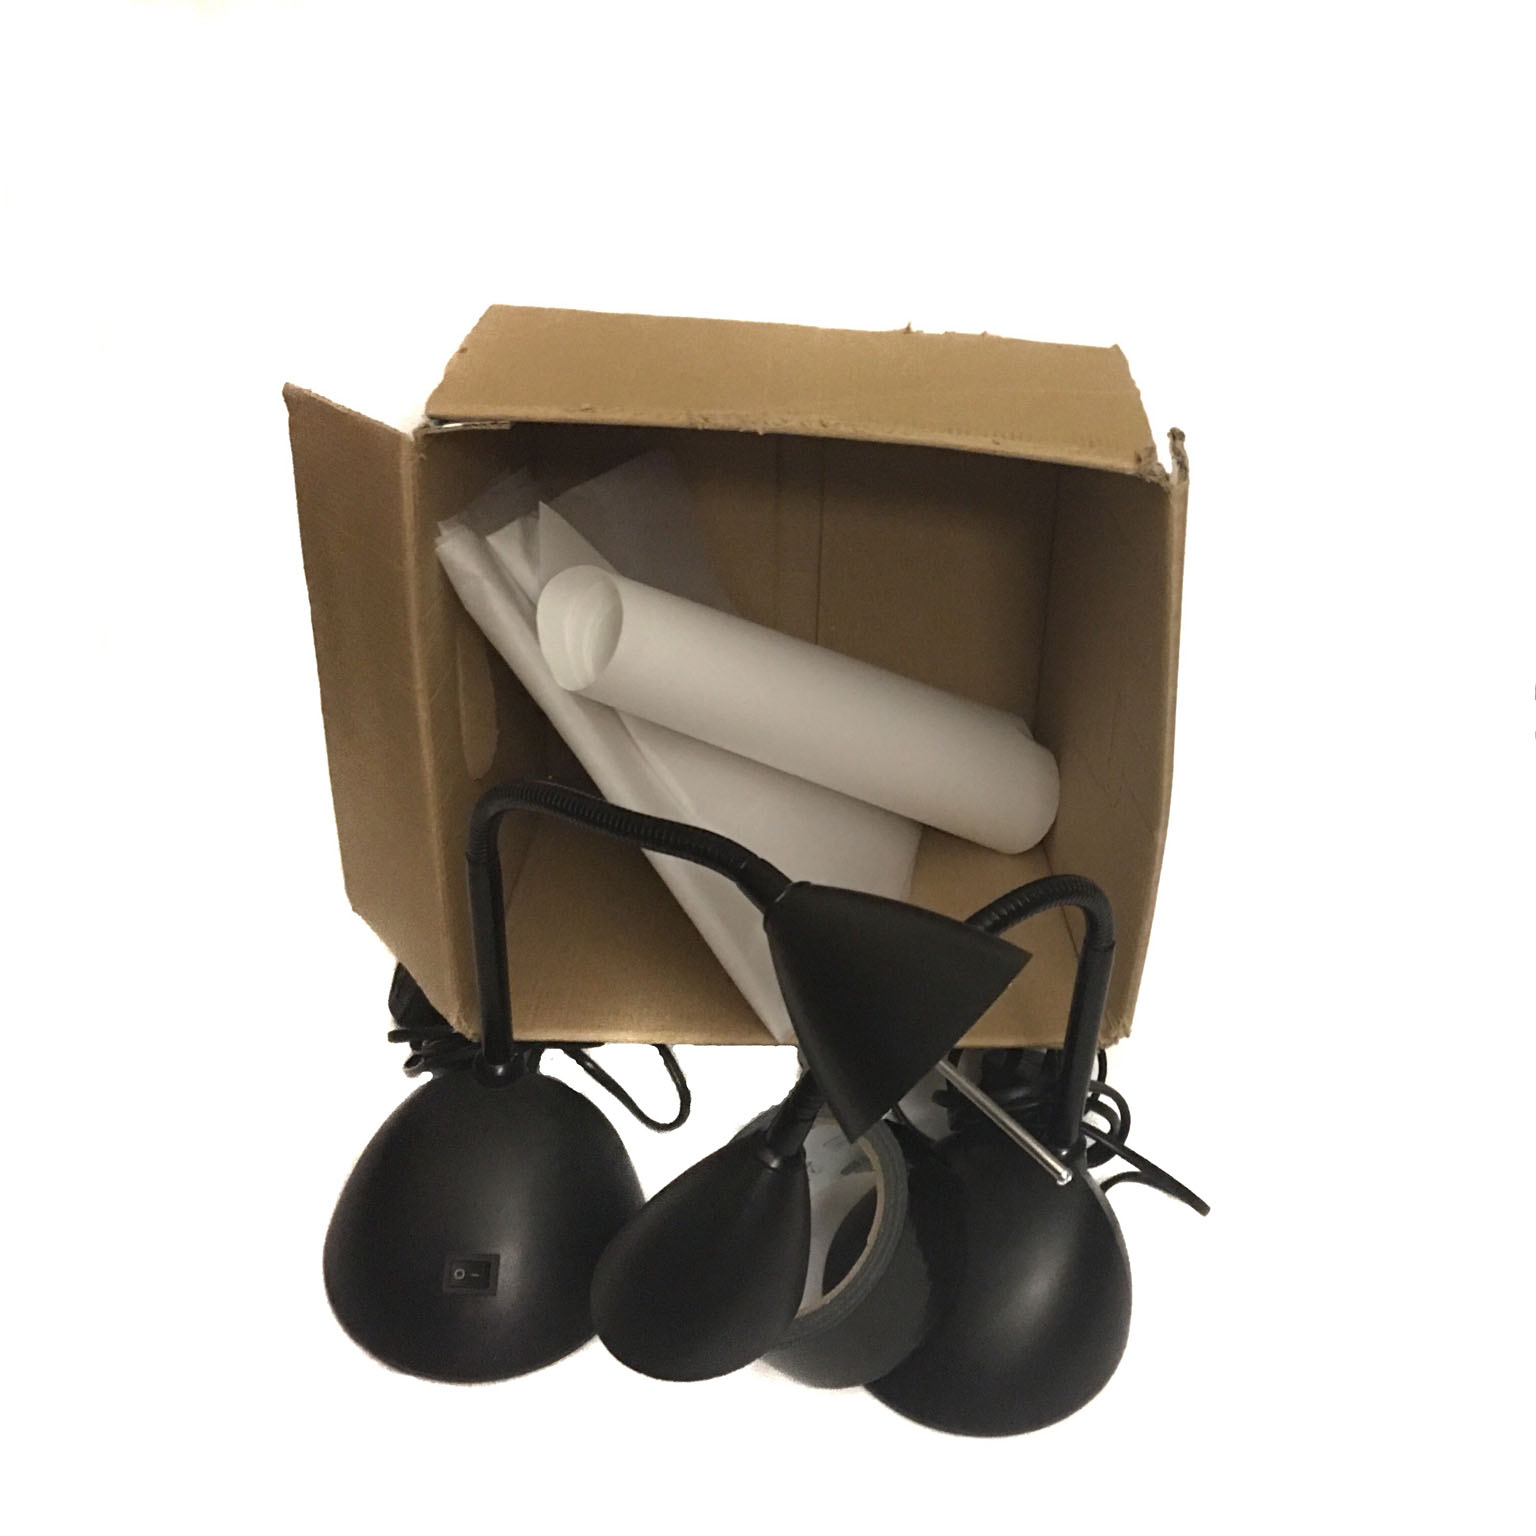
The hardest thing to get hold of will be the daylight simulation bulbs, but you can order these online for £2 – £5 each.
Making the Origami Photography Lightbox
| Seal all the sides except the one that will become the front of the Light Box. Cut the flaps off the front of the box |  |
| Cut windows in the sides and the top of the cardboard box, leaving approximately 2.5cm (1in) | 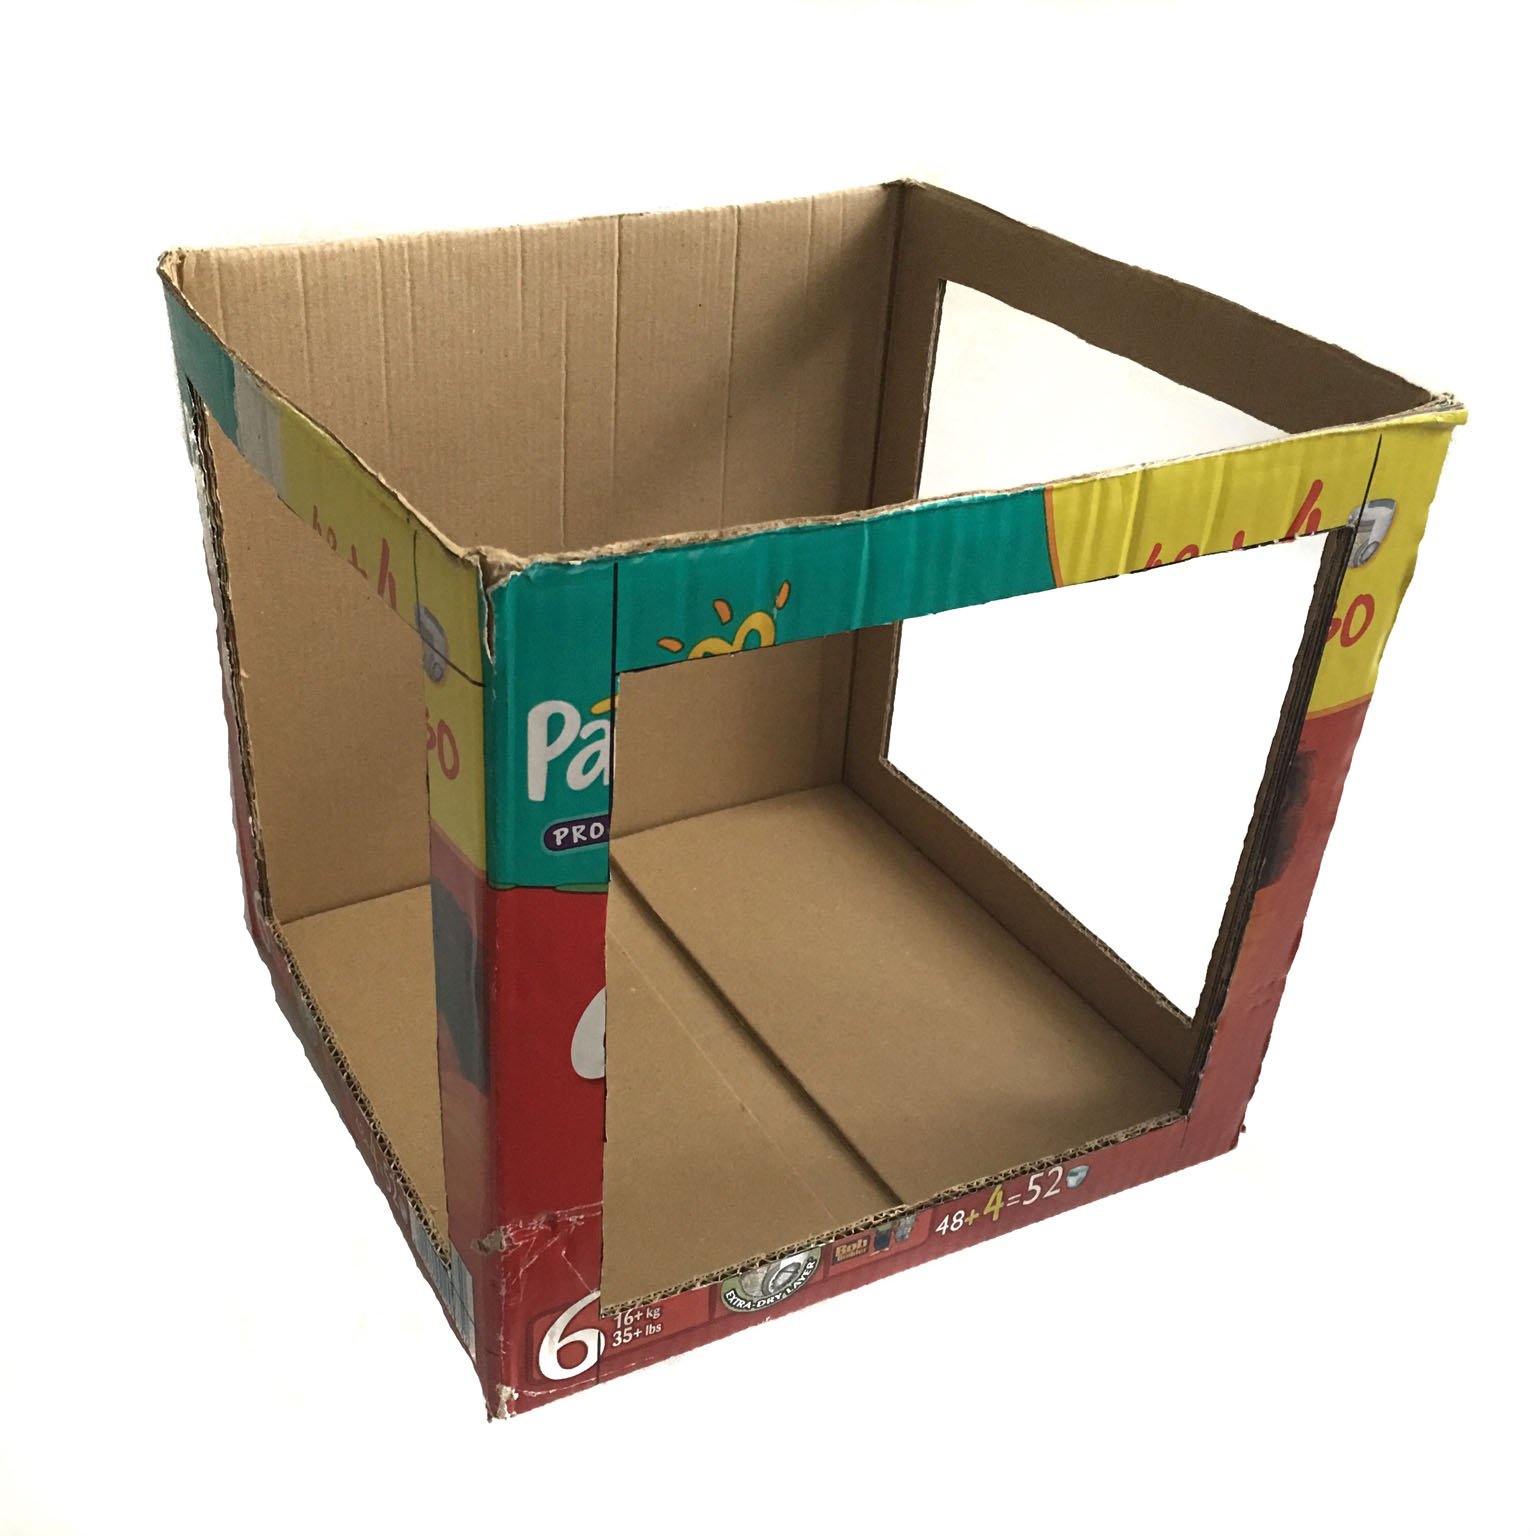 |
| Tape white tissue paper over the windows you have just created | 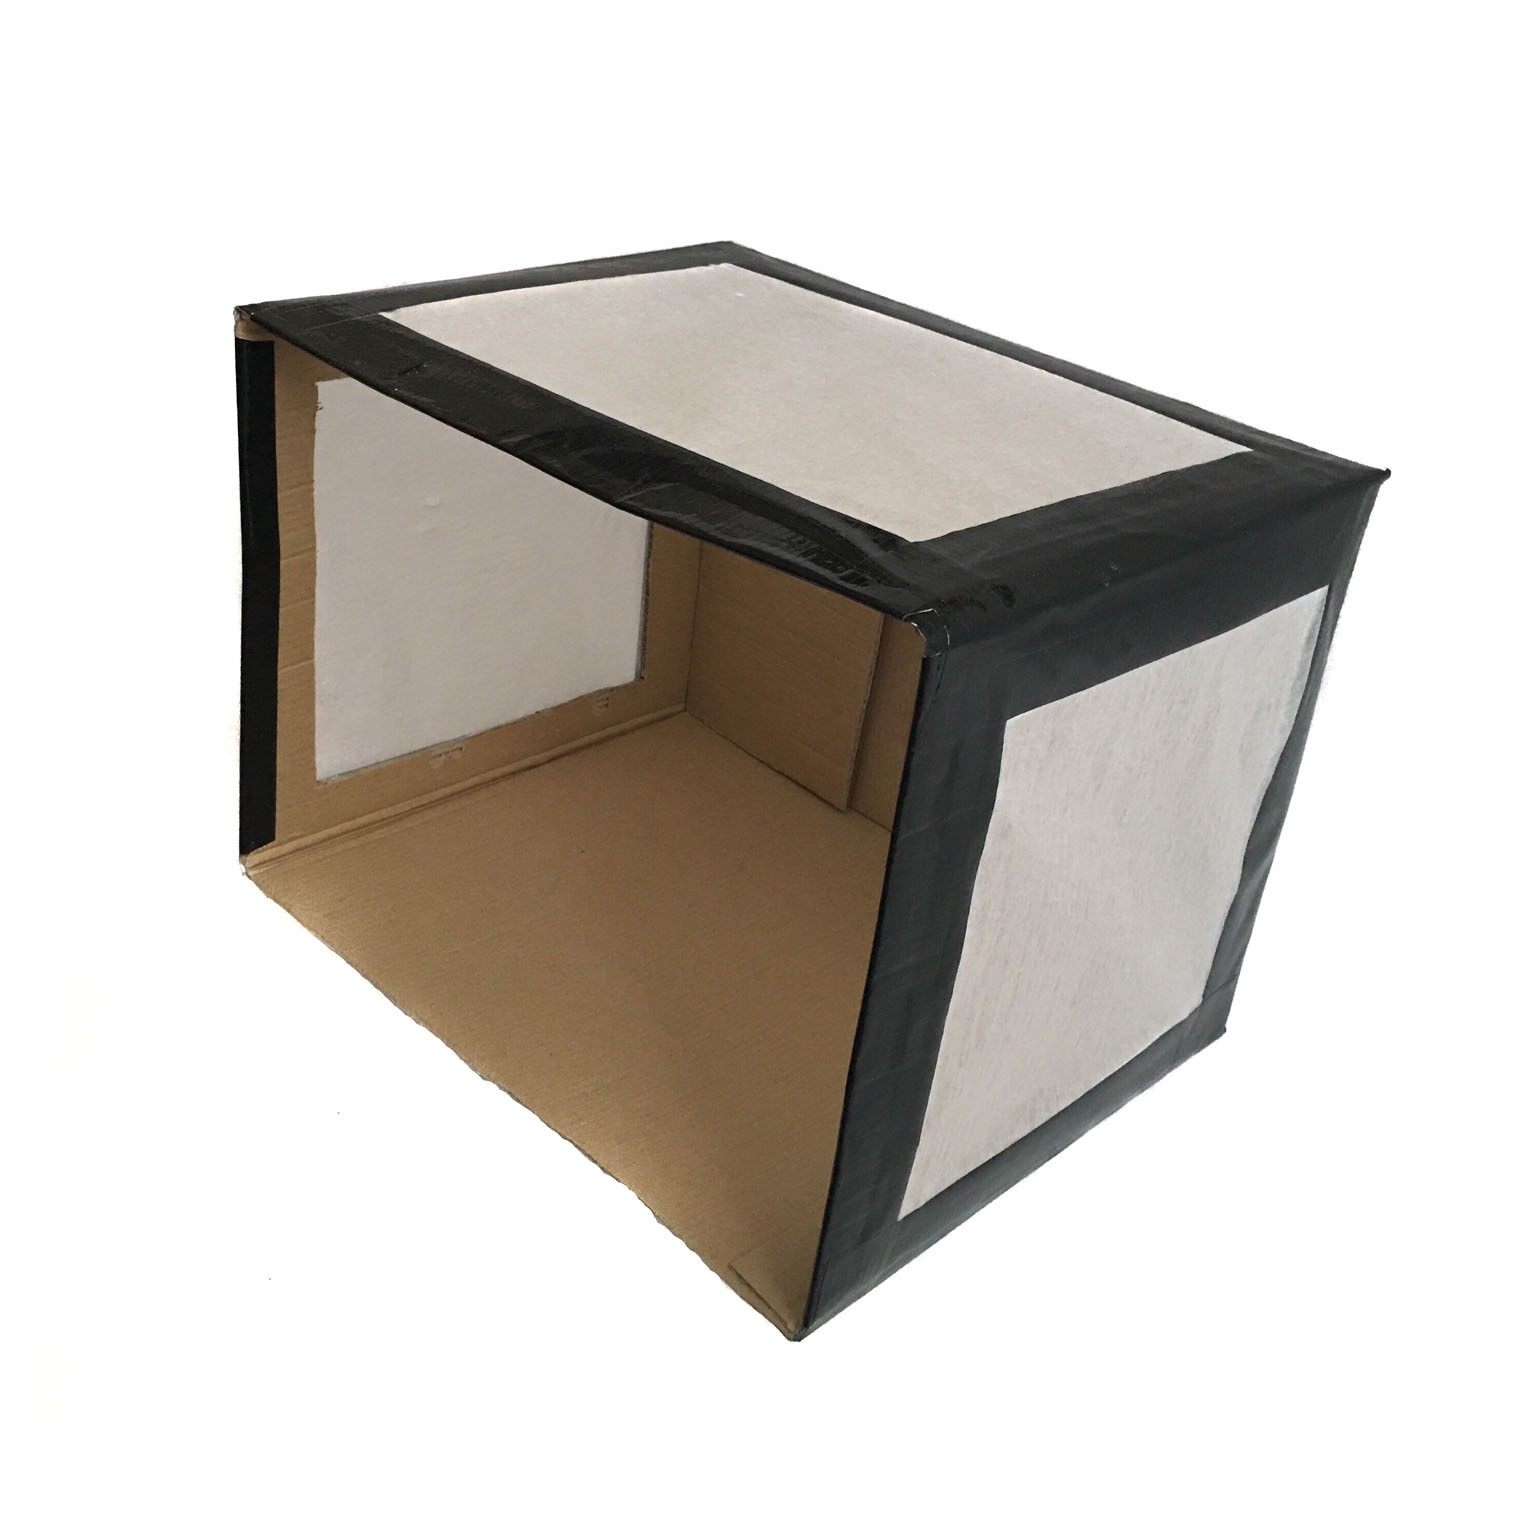 |
| Cut the background paper to the same width as the inside of the box and slide it into the light box so that the top lines with the top of the back wall of the box and hangs down, sloping down gently so that it protrudes out the front. I have used blue paper here to show an alternative to white | 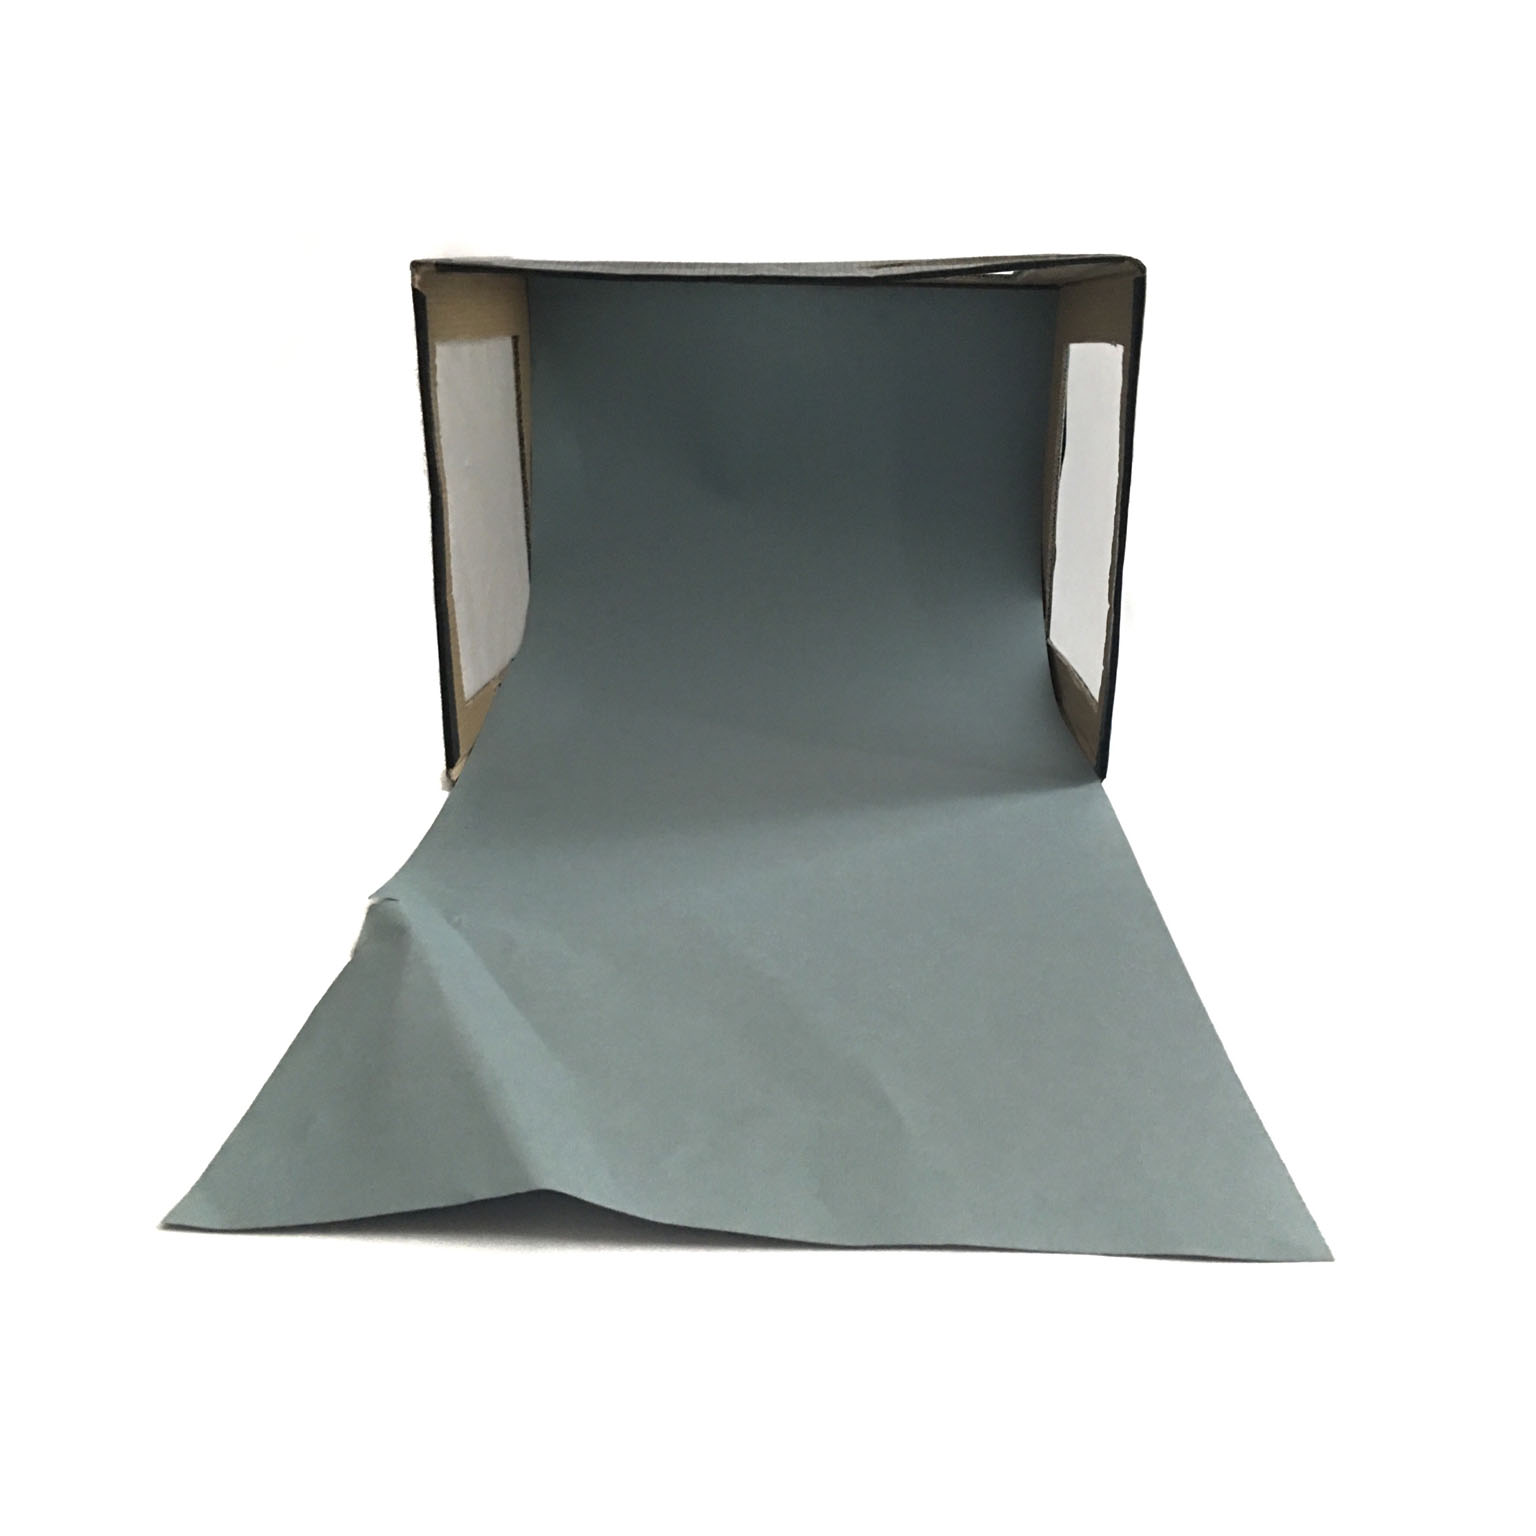 |
| Replace the bulbs in the lamps with the daylight simulation bulbs and you have completed the light box! | 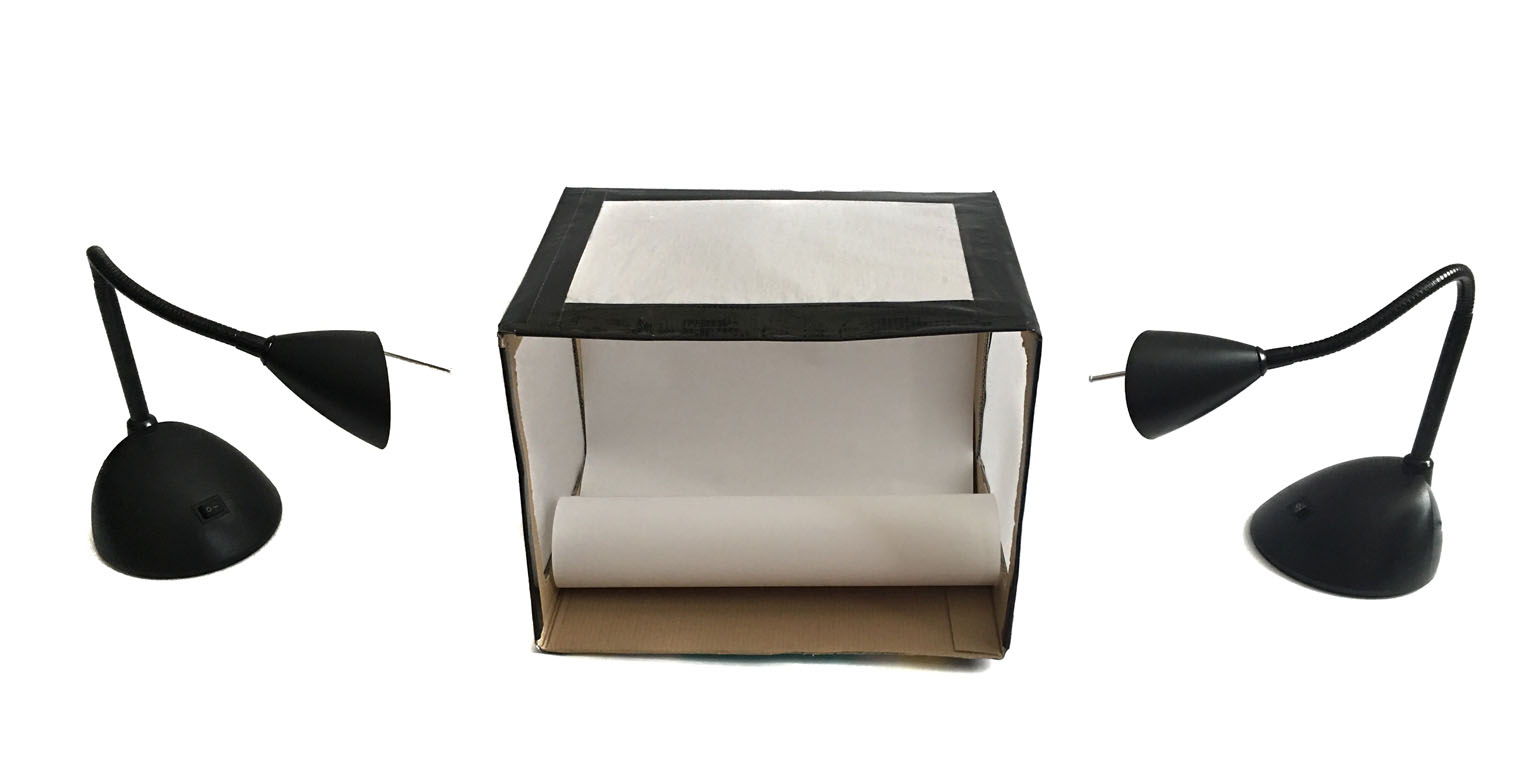 |
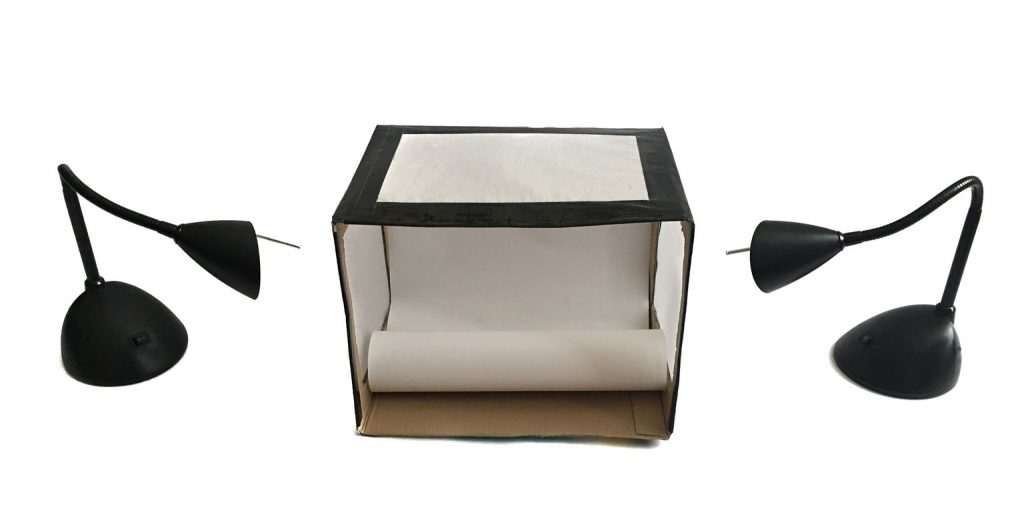
Using the light box
- Arrange the lamps either side of the light box, shining in through the windows on the side – as in the above picture
- Alternatively, point the lights in the top to illuminate your subject from above
- Place the origami model in the middle of the lightbox on top of the paper that forms the backdrop and floor of the light box. Then, adjust the position of the lamps to illuminate the model and reduce the amount of shadow
- Take the photo!
Editing your origami image

Despite your best efforts, sometimes you will need to correct the origami picture after you have taken it – either to remove an unsightly shadow or to brighten the image slightly. I edit my origami studio photo on my iPhone, using an app called SnapSeed. It’s free and easy to use. Explaining how to use SnapSeed is beyond the scope of this article, but there is a very good series of articles available here.
Get Involved
Do you use a light box for your origami photography or do you have other tips that you’d like to share? Feel free to let me know what you think in the comments below, or you find can me on Instagram or Twitter. Check out my Pinterest boards too!
Sign up for my origami newsletter here and get our free Origami eBook.