“I declare before you all that my whole life, whether it be long or short, shall be devoted to your service and the service of our great imperial family to which we all belong.”
– Queen Elizabeth II, 21 April, 1947
Queen Elizabeth II
As I write this, it is a little over 24 hours since the announcement of The Queen’s passing. There are other people more qualified than me to comment on her reign, so I’ll just say this:
Rest in Peace Ma’am, and thank you for a lifetime of service.
Two Origami Crowns
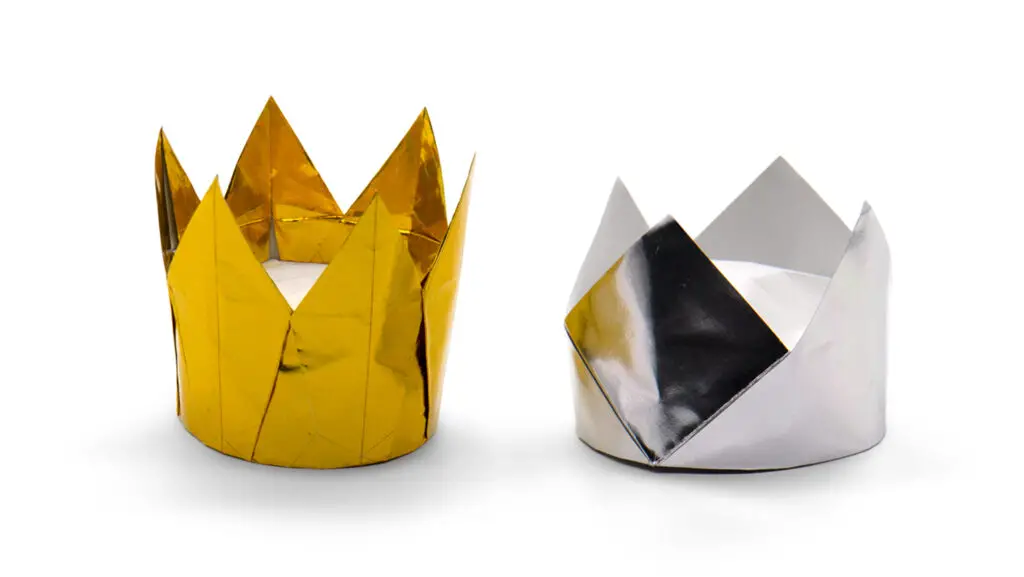
This does seem an appropriate point to talk about two of my favourite crown models. With the crown passing from Queen Elizabeth II to King Charles III, people might like to fold an origami crown – either as a moment of personal reflection, or maybe kids in school, learning about a significant moment in the nation’s history.
The two models I’m featuring here are a Six-pointed Crown designed by Christiane Bettens, and the Traditional Origami Crown, with only 4 points. Let’s start with the easiest one.
Note: This post contains affiliate links. Please see disclosure for more information.
Traditional Crown
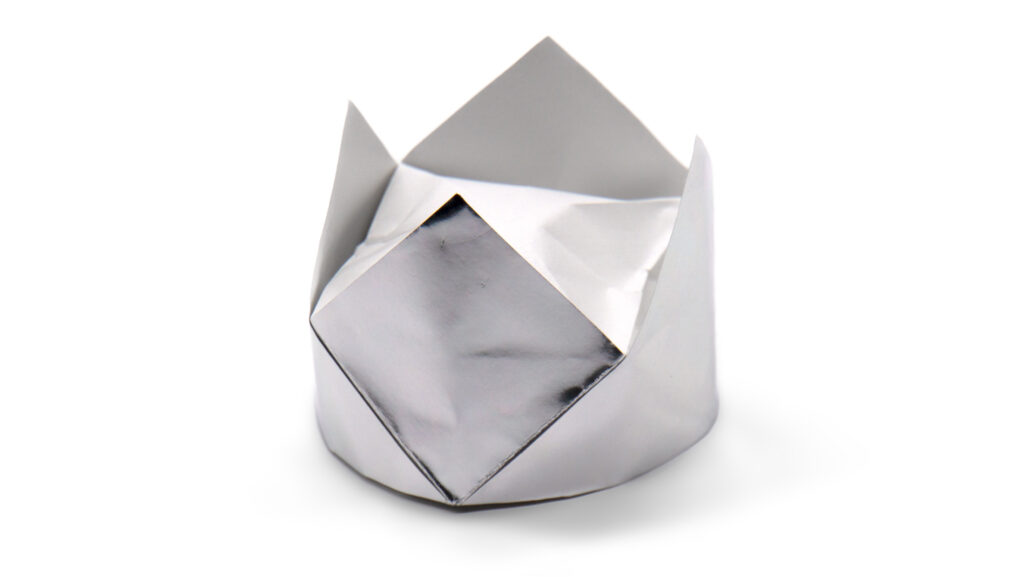
This is a very simple model, derived from a blintz base. There are no complicated moves in this design – not even a reverse fold! If you can fold a piece of paper in half, you can make this model. It takes less than five minutes to fold and you can use any paper.
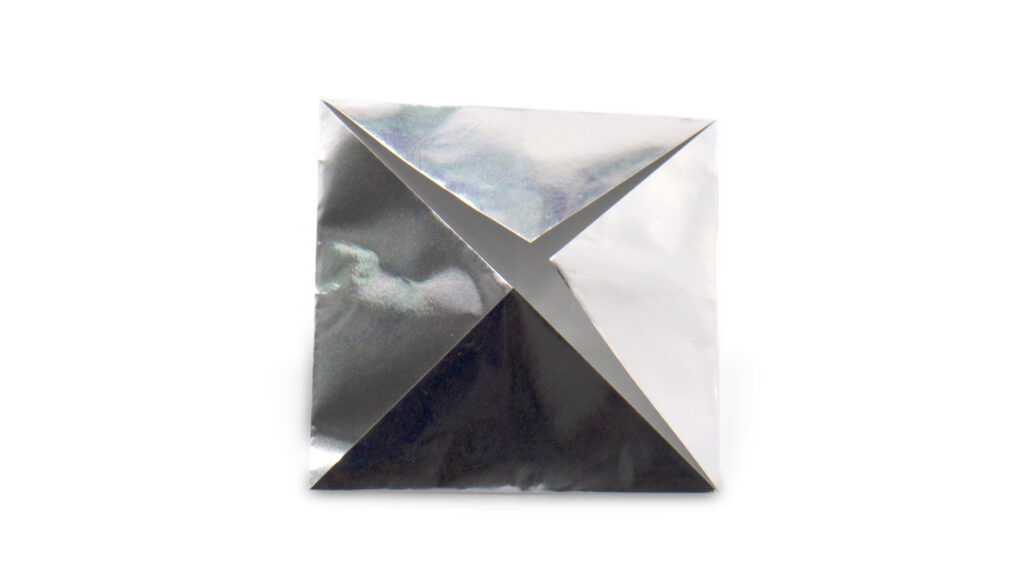
It’s a crown, so obviously some metallic paper would be good. A 15cm sheet of kami will do fine, and will produce a crown that is just over 5cm (about 2in) tall, and has a diameter of 7cm (2.75in). Obviously if you’re planning on wearing it, you’ll need a bigger bit of paper than that! Giftwrap paper works well.
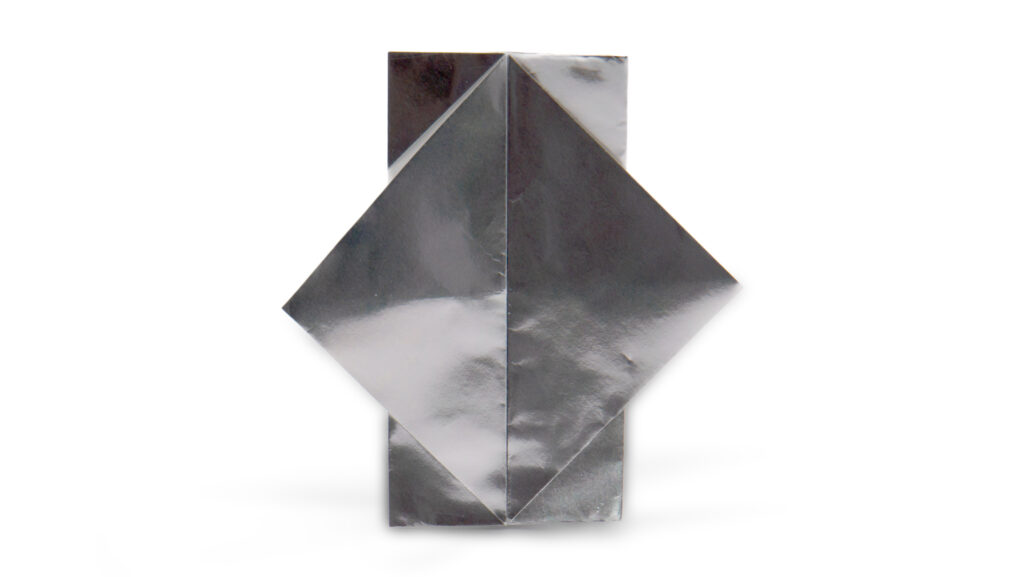
Instructions for the Easy Origami Crown
Diagrams for the Traditional Origami Crown are available from many places – but the one I’m going to recommend is my book! Origami Made Simple is available from Amazon here either as a paperback or an ebook.
Not everyone likes folding from diagrams, so I’ve made a video showing how to make the Traditional Crown as well. You can watch this below:
The Six-Pointed Crown
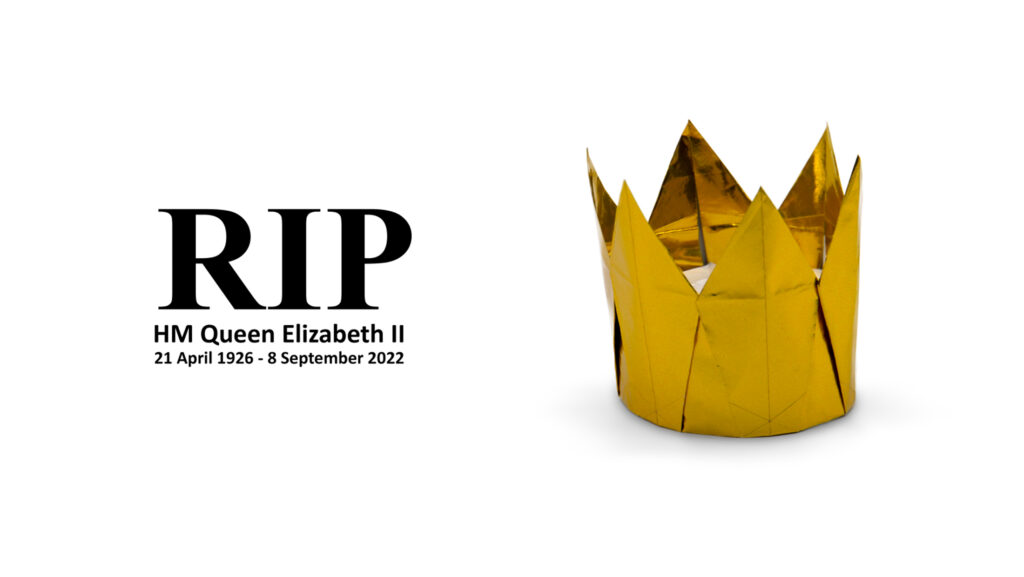
You can probably tell just by looking at the two different crowns that this one is a little more complicated. It’s still not exactly difficult though. I’d probably rate it as a low intermediate.
Preparing the paper is a bit of a pain, you need to fold reasonably precisely to get a good result. There is one step where you almost turn the model inside out, which sounds awful but actually isn’t that difficult if you take your time and don’t rush it.
The reason why the paper is a bit of a pain is that it starts with a hexagon – perhaps unsurprising for a crown with six points. Normally I’m a bit of a purist when it comes to this sort of thing, but I’ll let this one slide. Origami should be about folding, so if you have to start the model by cutting the paper into odd shapes, it feels a bit like cheating. That said, a lot of Neal Elias’s models are made from rectangles of very odd proportions so I do know I’m splitting hairs a bit.
If you’re not sure how to make a hexagon, the instructions I link to below contain information on how to create one from a rectangle. If you start with a hexagon cut from a sheet of A4 paper, you’ll end up with a crown with a diameter of about 5.5cm (a little over 2in), and a height of about 6cm (2.5in). If you’re in America and cutting the the hexagon from letter paper, the proportions will be about the same.
As with the Traditional Origami Crown, metallic kami works well for the Six-pointed Origami Crown, or you can use giftwrap paper if you’re planning on making something big enough to crown yourself. Including cutting out the hexagon, you’re looking at about ten minutes to fold this model.
Instructions for the Six-Pointed Crown
Sara Adams from Happyfolding.com made an excellent video showing how to make this years ago which you can find below:
Get Involved
I’d love to hear your views on these paper crown models. Feel free to let me know what you think in the comments below, or you find can me on Instagram, Facebook, or Twitter. Check out my Pinterest boards too!
Sign up for my origami newsletter here and get our free Origami eBook.
Disclosure:
This page contains affiliate links and I may receive some small commission for purchases made through the links on this page. This hasn’t affected my decision to recommend a product – I value my personal and professional reputation and would not endorse a product or supplier I did not believe in. There is no additional cost to you for purchasing through this page.
As an Amazon Associate, I earn from qualifying purchases. Origami Expressions is a participant in the Amazon Services LLC Associates Program, an affiliate advertising program designed to provide a means for sites to earn advertising fees by advertising and linking to amazon.com, amazon.co.uk, amazon.ca. Amazon and the Amazon logo are trademarks of Amazon.com, Inc. or its affiliates.
